Paving blocks are a popular choice for driveways, patios, and walkways. They offer durability, aesthetic appeal, and a variety of design options. Understanding the process of paving blocks installation is essential for achieving a professional finish. This article will guide you through the key steps involved in paving blocks installation, helping you create a beautiful and lasting surface.
Why Choose Paving Blocks?
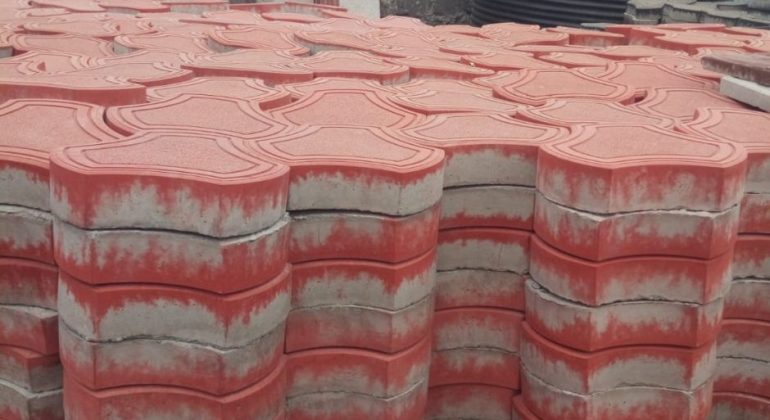
Before diving into the installation process, it’s important to understand why paving blocks are a preferred choice. Paving blocks are strong and resistant to weather conditions. They come in various colors, shapes, and textures, allowing for creative designs. Additionally, they are easy to repair; if one block is damaged, you can replace it without disturbing the surrounding area.
Preparing for Paving Blocks Installation
1. Planning Your Project
Start by planning your project carefully. Decide where you want to install paving blocks and the design you want to achieve. Consider factors such as size, shape, and color. Measure the area to determine how many blocks you will need.
2. Gathering Materials
For a successful paving blocks installation, gather the necessary materials. You will need:
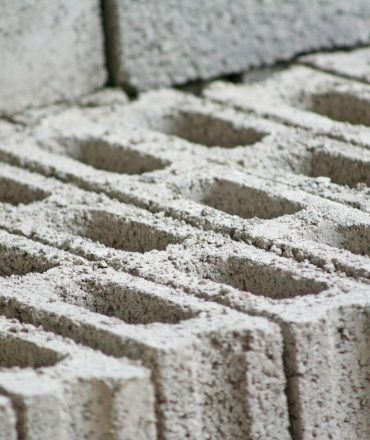
- Paving blocks from a reliable supplier like Motherland Concrete and Logistics Ltd
- Sand or gravel for the base
- Edging materials to keep the blocks in place
- A compactor or tamper to stabilize the base
- A level and measuring tape for accuracy
- Tools such as a rubber mallet, trowel, and broom
3. Preparing the Site
Clear the area of any debris, grass, or existing pavement. Excavate the soil to a depth of at least 6 to 8 inches. Ensure the surface is level, as any dips or bumps will affect the installation. Once the area is excavated, use a compactor to pack down the soil.
Base Preparation
4. Creating a Base Layer
A strong base is crucial for paving blocks installation. Fill the excavated area with a layer of gravel or crushed stone. This should be about 4 to 6 inches deep. Use a rake to spread the material evenly. Once spread, compact the gravel using a compactor or tamper.
5. Adding Sand
After compacting the gravel, add a layer of sand on top. This layer should be about 1 inch thick. Use a screed board to level the sand, ensuring a smooth surface for the paving blocks.
Installing the Paving Blocks
6. Laying the Paving Blocks
Begin the paving blocks installation by placing the first block in a corner or edge. Ensure it is aligned correctly and set it into the sand layer. Continue laying the blocks in your desired pattern, leaving small gaps between each block. These gaps will be filled with sand later.
7. Cutting Paving Blocks
In some cases, you may need to cut paving blocks to fit. Use a wet saw or a chisel and hammer to cut the blocks accurately. Measure carefully to ensure the blocks fit snugly into the desired spaces.
8. Leveling and Adjusting
As you lay the blocks, regularly check their level. Use a rubber mallet to tap them into place if necessary. Ensure all blocks are flush with each other for a uniform look.
Filling the Gaps
9. Adding Jointing Sand
Once all blocks are laid, it’s time to fill the gaps. Sweep jointing sand over the surface, allowing it to settle into the cracks between the blocks. This will help stabilize the blocks and prevent shifting.
10. Compacting the Surface
After filling the gaps, use a compactor to press the blocks down. This step is crucial for ensuring they are securely in place. Compacting also helps to settle the sand and prevents future movement.
Finishing Touches
11. Cleaning the Surface
After the compaction process, clean the surface of any excess sand. A broom works well for this task. You want the surface to look neat and tidy, highlighting the beauty of the paving blocks.
12. Sealing the Paving Blocks
Consider applying a sealant to the paving blocks. This will help protect them from stains and enhance their color. Be sure to follow the manufacturer’s instructions for the best results.
Maintenance Tips
13. Regular Cleaning
To keep your paving blocks looking their best, perform regular cleaning. Sweep away debris and use a pressure washer for deep cleaning. This will prevent the buildup of dirt and algae.
14. Check for Damage
Regularly inspect your paved area for any signs of damage. If you notice any loose or cracked blocks, replace them promptly. This will maintain the integrity of your paving blocks installation.
15. Refill Jointing Sand
Over time, jointing sand may wash away or settle. Refill the gaps as needed to ensure the blocks remain secure.
Conclusion
Paving blocks installation is a rewarding project that enhances the beauty and functionality of your outdoor spaces. With careful planning and execution, you can achieve a professional finish. Companies like Motherland Concrete and Logistics Ltd provide high-quality paving blocks and support for your installation needs. Follow this guide to create a stunning paved area that will last for years to come.
Learn how to achieve a professional finish with paving blocks installation. This comprehensive guide covers planning, materials, and maintenance tips, featuring Motherland Concrete and Logistics Ltd for your paving block needs.